Noblesse oblige Abrites Diagnostics for Mercedes IC223/177M dashboard calibration using MN038 and EM019
As the great Marvel philosopher uncle Ben once said – “With great power comes great responsibility”. This phrase stems from way before biblical times and basically means that being the best at something is not just entitlement but also brings huge responsibility. The fact is that we managed to create a great tool with the standard IC177 dashboards. We found a way to deliver a comprehensive and safe to use tool which we were able to provide you with. Being that we had responsibility towards you guys we could not sit still and wait. We had some of the know-how from the IC177 and we wanted to transfer it to the other platforms they are, at least loosely, related to.
-
Platforms
IC223/ IC177 appears to have several variations – those who are strictly 223, strictly 177M and hybrids between the two – IC223 box and identification which in fact contains 177M type PCB, 177 box which contains 223 PCB and everything in between. We have provided different versions of pinouts so that you can handle all those situations.
-
Locations
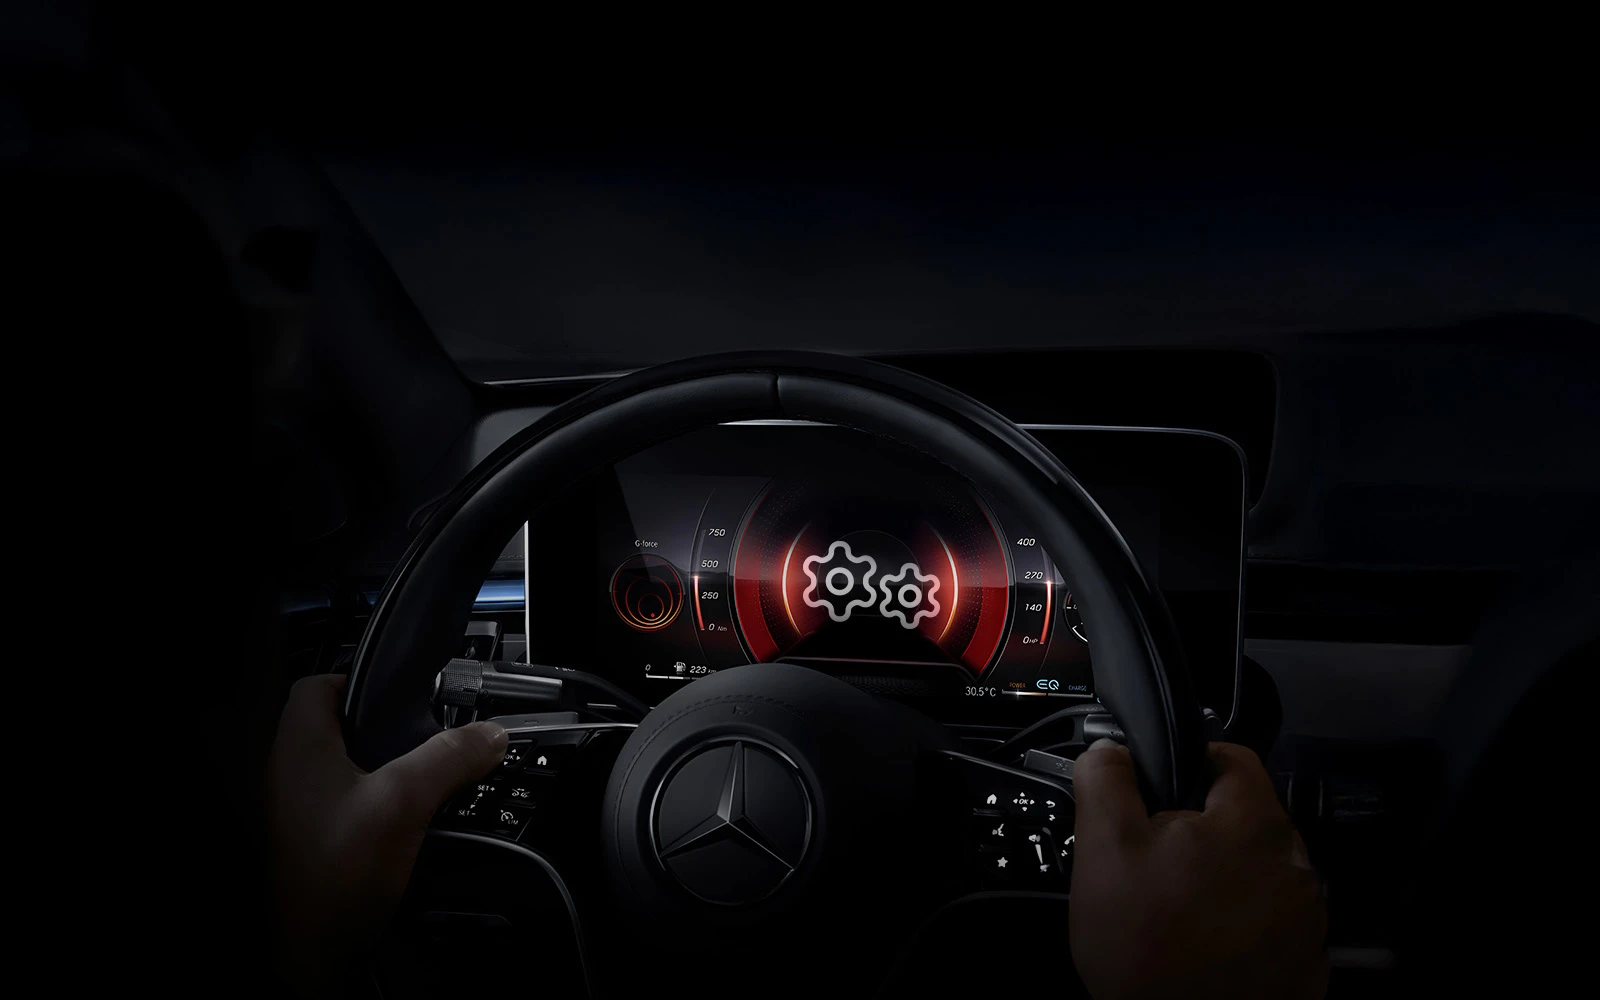
When starting work on a car you will see that the instrument cluster panel is just a display and the module which controls this display i.e. the IC module can be found in different locations. When talking about the different cars using them you can basically look for the IC module in two main locations.
- Behind the glove compartment underneath the dashboard panel of the interior of the car. W223 has a dashboard located there, you will need to remove the glovebox and look around from there. They are grey boxes with labels, and you will see that it says IC on them.
- Above the pedals. This is common in cars such as the W206 – you need to remove the plastic cover above the pedals, below the steering wheel and you will look for the same module type there.
- Under the seat – I believe W177s most commonly have the IC module there, but it still could be in any of the other locations above.
-
Procedure
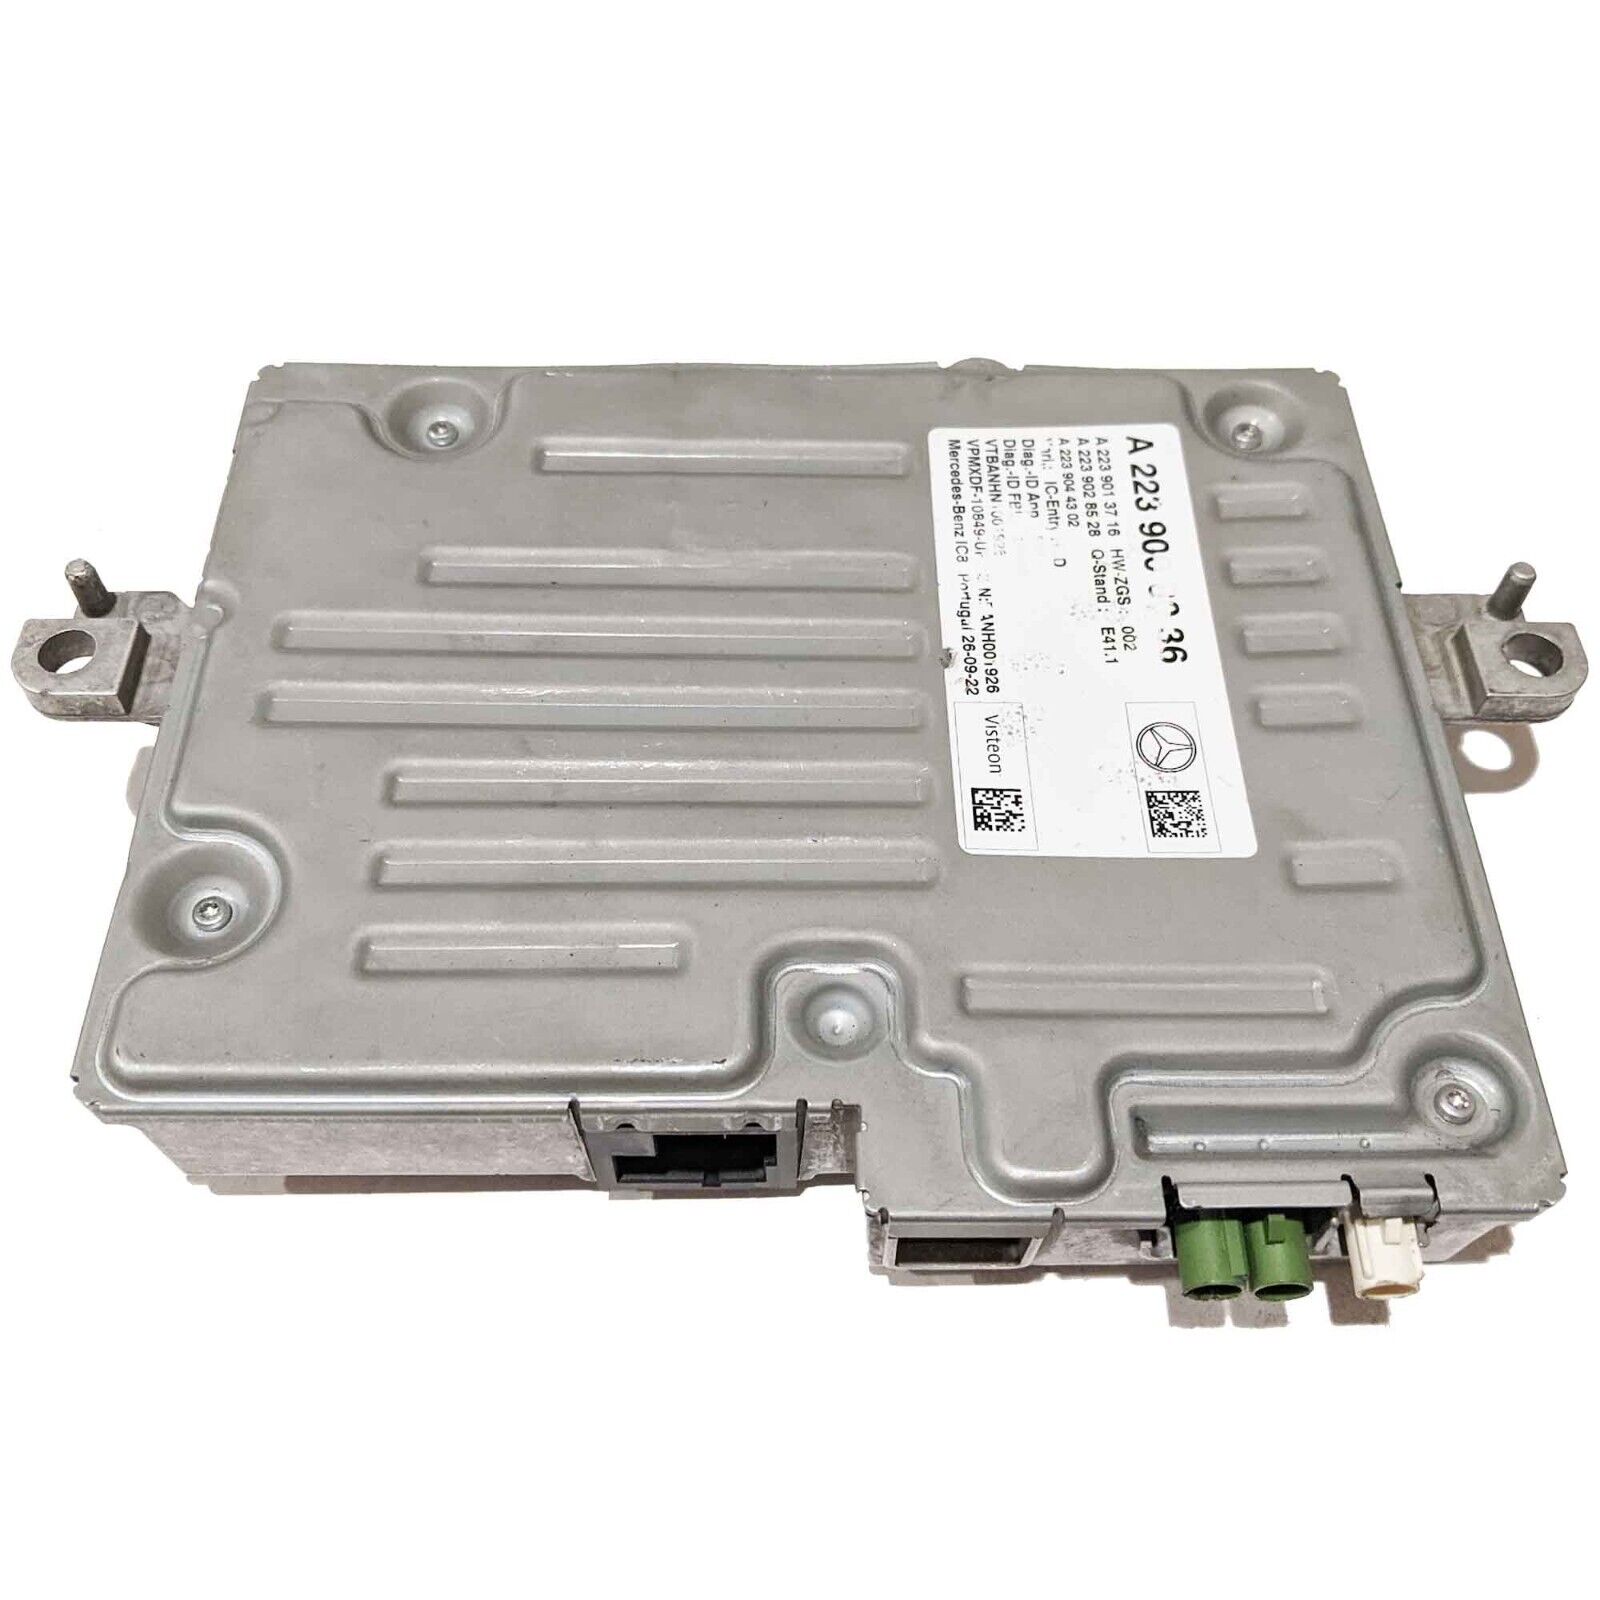
Start by removing the battery of the car. Once you have located the IC module you will need to remove it from the car. You need to disconnect the antennas and connectors, usually 2-3 Torx bolts (T20, T25) and you can wiggle the IC out of the car. After that you need to take the Instrument Cluster module to your bench and carefully remove it from its housing. Take the ZN085 programmer and the supplied cables.
Go to Quick Start, select the programmer menu (V850/ RH850) and select IC 223/177M from the menu, then select “Wiring”, go to the wiring and solder the supplied cables as per the diagram provided there. Then you can read the dashboard, save the file and perform the calibration as per the required values. You can also test the connection to make sure that the cables are connected properly. Please note that this part takes between 10 and 30 minutes just so that you can plan your time. Sometimes communication does not go through from the first attempt. You can disconnect and reconnect the USB of the programmer and power going to the IC module. Once the calibration is complete, we can move to installing the EM019. We have to install the emulator and leave it in each IC module we do. This means that you have to have 1 EM019 per car you work on. Please make sure to follow the emulator soldering pinout supplied in the software. We use a dab of silicone over the soldering points of the EM019. Make sure to secure it so that it does not disconnect from the vibrations of the car while driving.
Reinstall everything, put the car together, reconnect the car’s battery and enjoy. The dashboard may sometimes stay awake for a minute or so after locking the car, but this does not affect the operation of the systems within it in any way.
Like I said in the beginning – "Our position obliges us to provide even better tools every time". We are still working on solving the problems you guys have been asking for and we promise to keep doing what we are now – provide the best solutions to your needs.
CHECK MN038 CHECK EM019
Here is a brief video to the procedure:
Until next time, try to have fun at work,
Alek

 Annual Subscription
 Cluster Calibration IC223 2020+/IC177 M 2023+
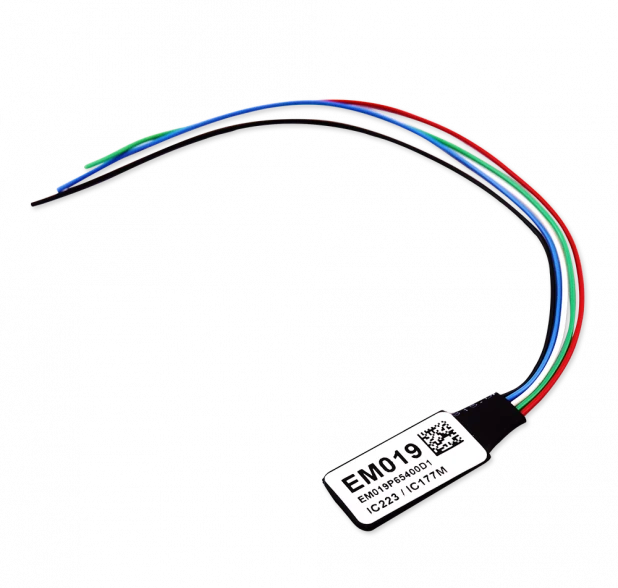 Еmulator for IC223/IC177M Dashboards
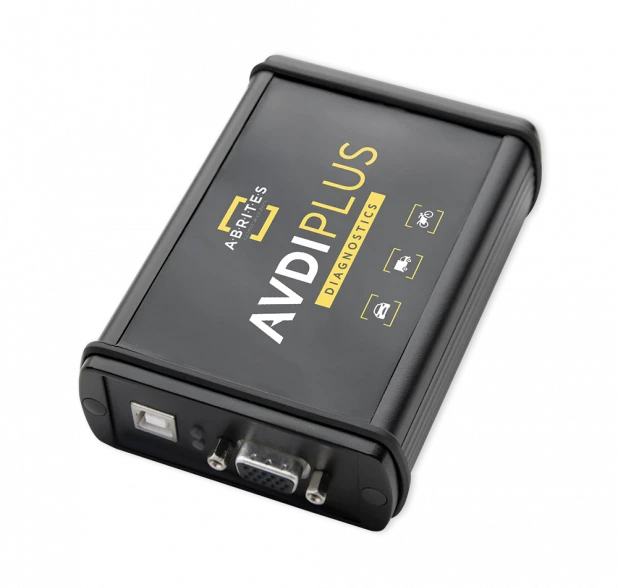 AVDI
AVDI